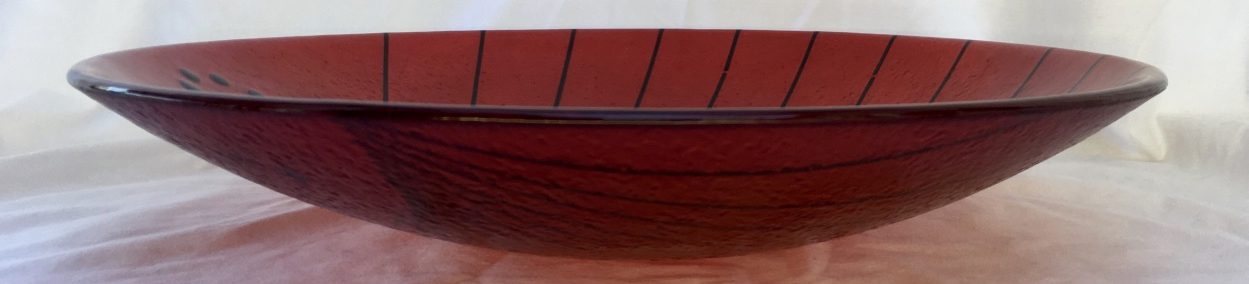
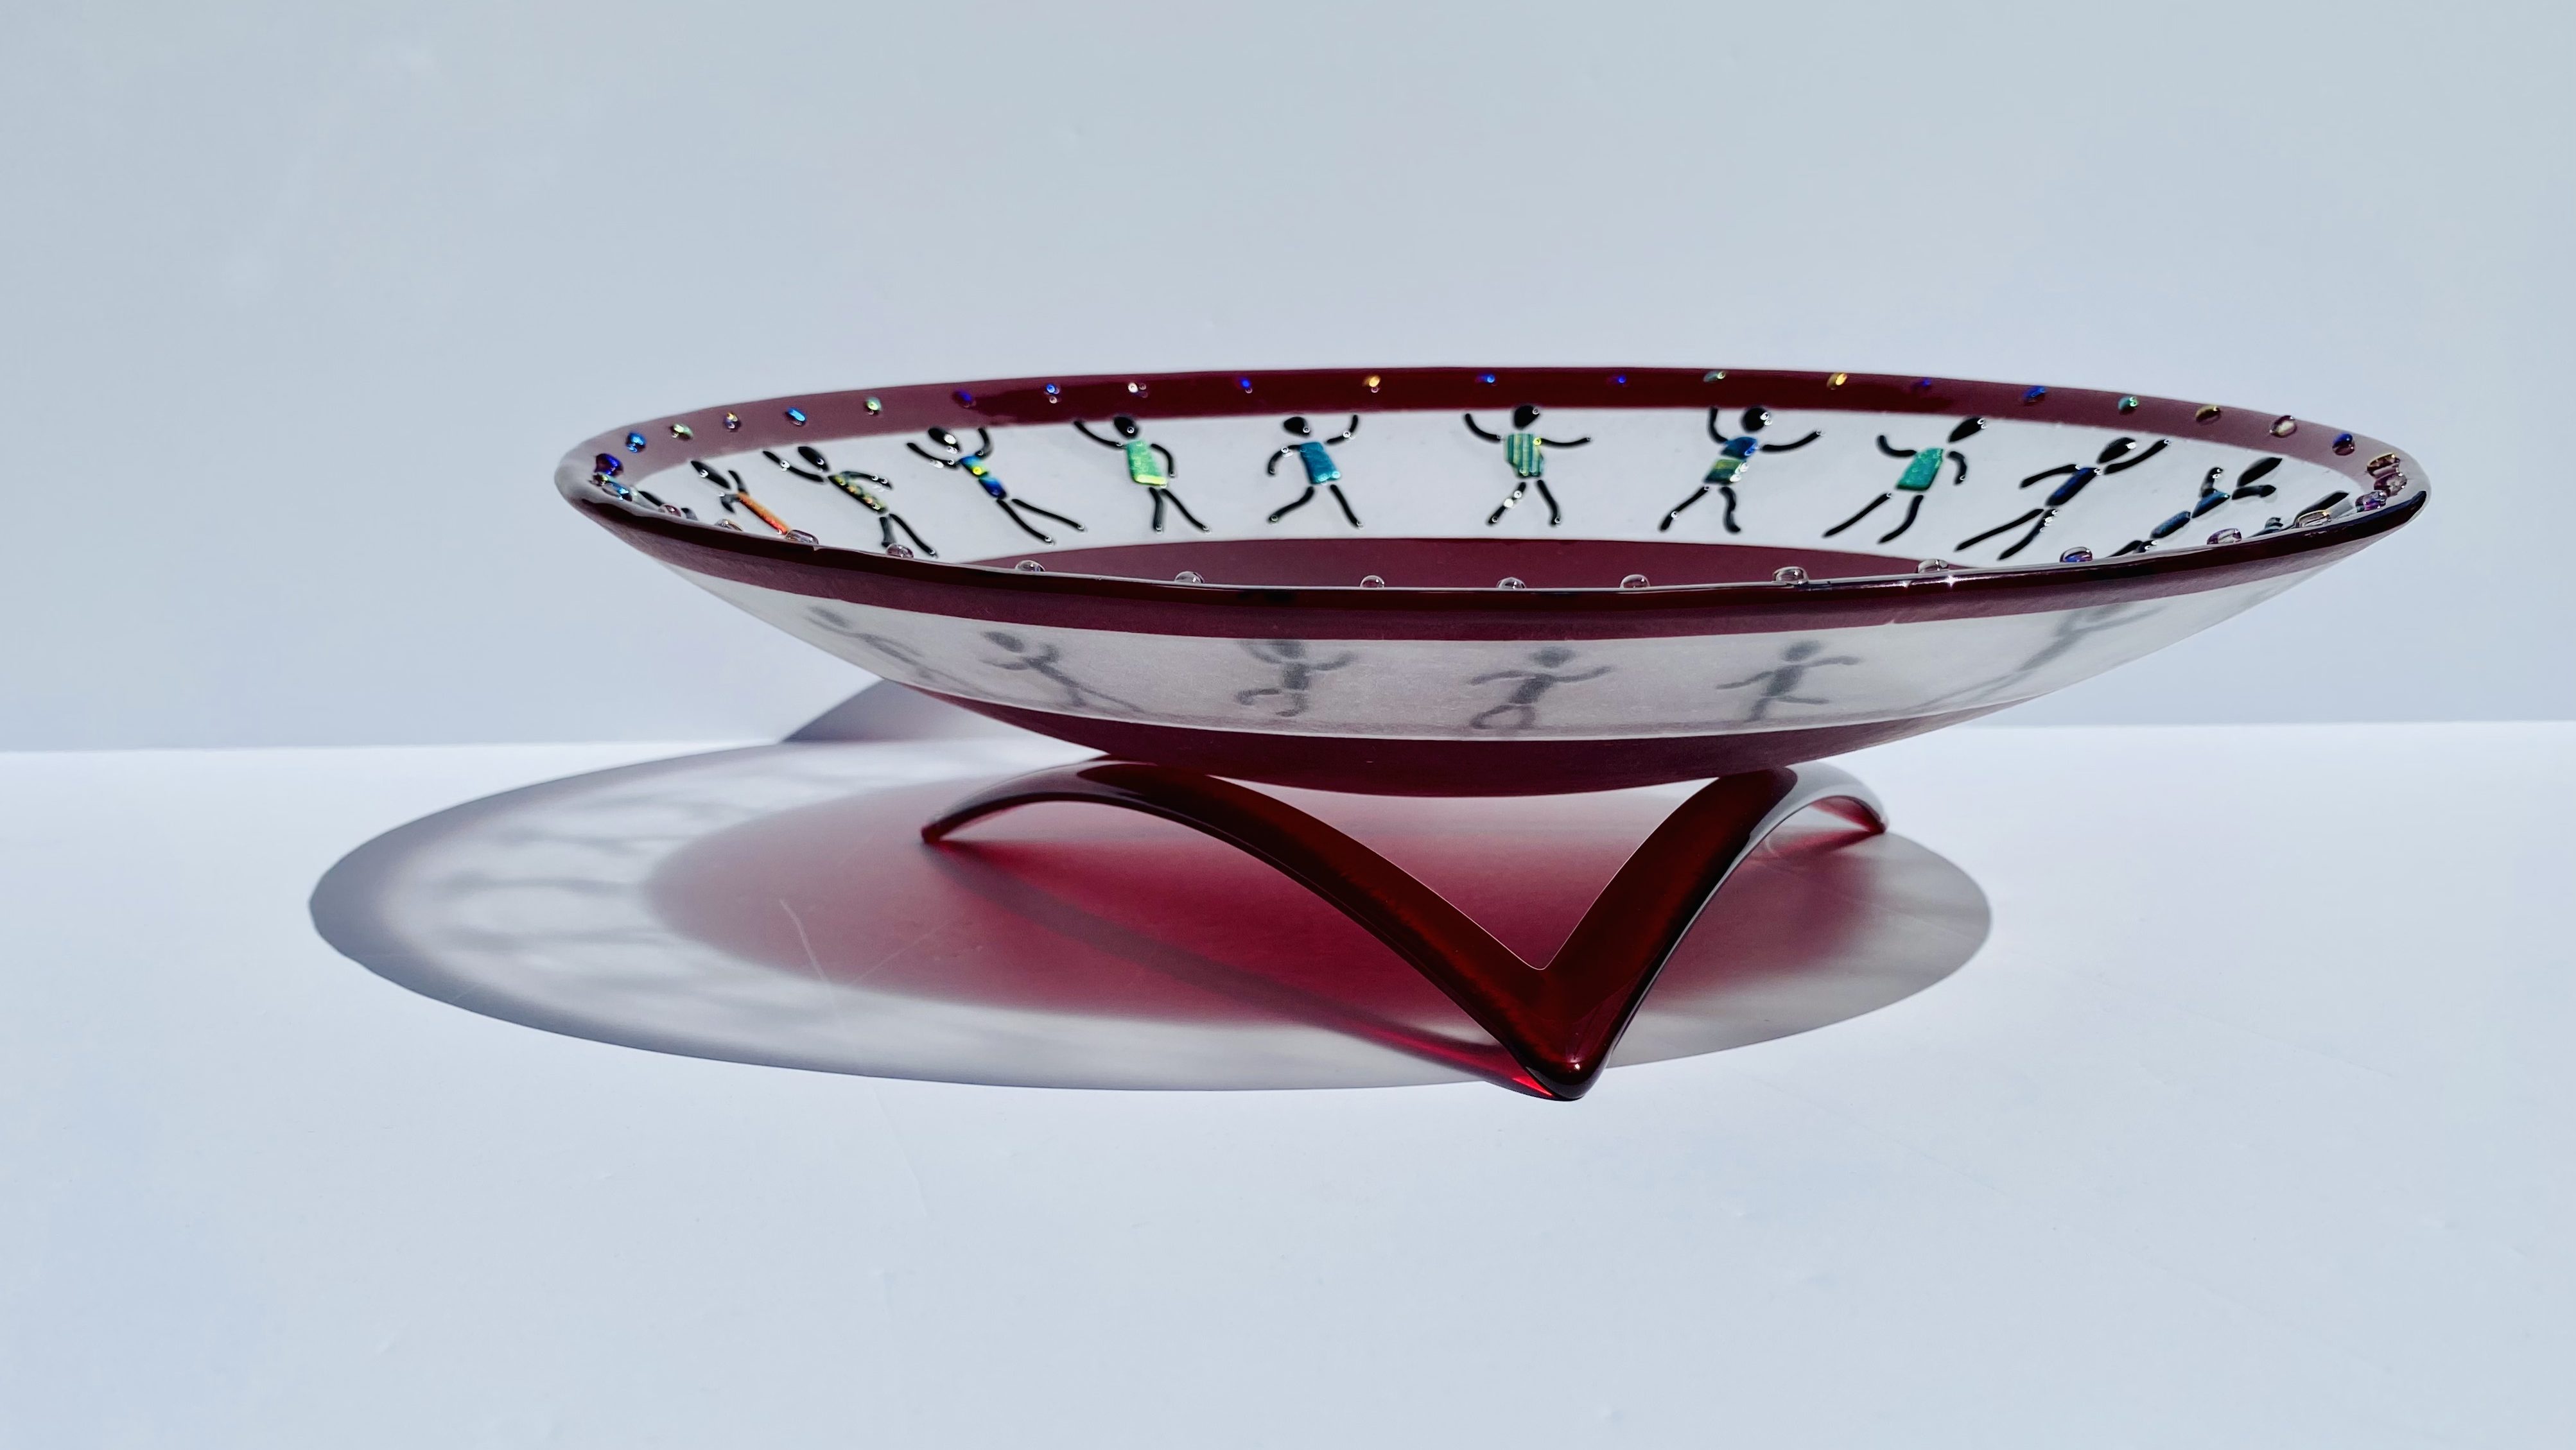
I make 16″ bowls which are slumped into a ball surface mold (shop.bullseyeglass.com/ball-surface-17-in-432-mm-slumping-mold.html). Ball surface molds are easy to use because the curve is the same throughout the mold, so you don’t have to worry about positioning the glass precisely for the slump. However, it does mean that the bottom is not flat, which led me to creating this stand. I have made smaller stands to use with smaller bowls using the same technique.
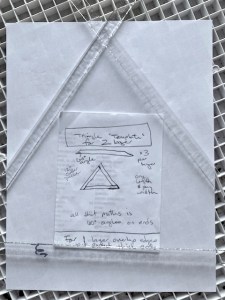
Step 1. The stand is a 2 layer triangle of glass that is first full fused and then slumped in the same mold I used for the bowl. Here are my design notes. When finished, the sides of this triangle will be about 10 inches.
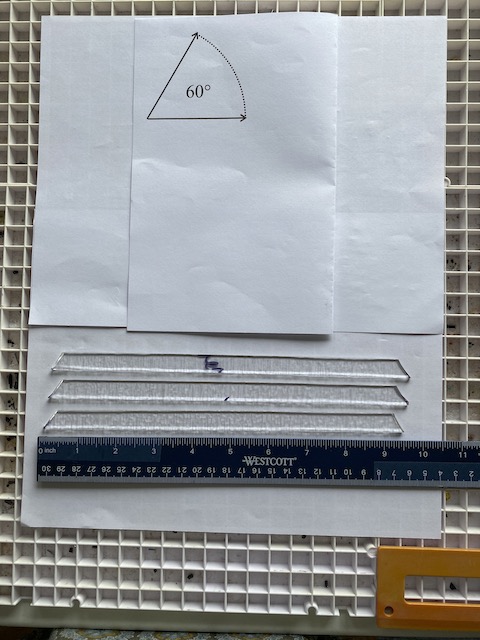
Step 2. Start with 1/2 inch wide glass strips that are at least 9.5″ long. I’ve laid them out here so you can see one layer of the triangle, but the glass needs to be trimmed to make the tips come out right. An equilateral triangle is one where the sides are the same length and the angles are each 60°. I searched for images of 60° angles and printed one out.
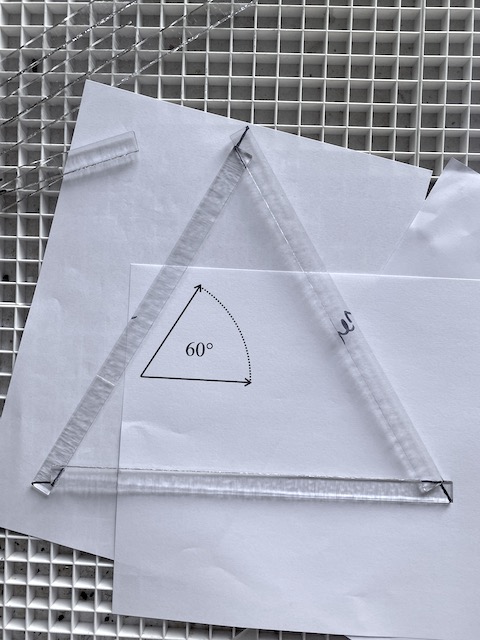
Step 3. In order to have nice pointy triangle tips, you need to cut the ends of the glass strips the right way. This is the trickiest part. I’ve used the printed angle to show how you can use the print out to draw the cut using sharpie.

Step 4. The end cuts are not parallel to each other – I think of them as being pigeon-toed. You need 3 of these strips for each layer.
Step 5. Assembly of the first layer. I don’t know how to describe it in words. Look at the photo.
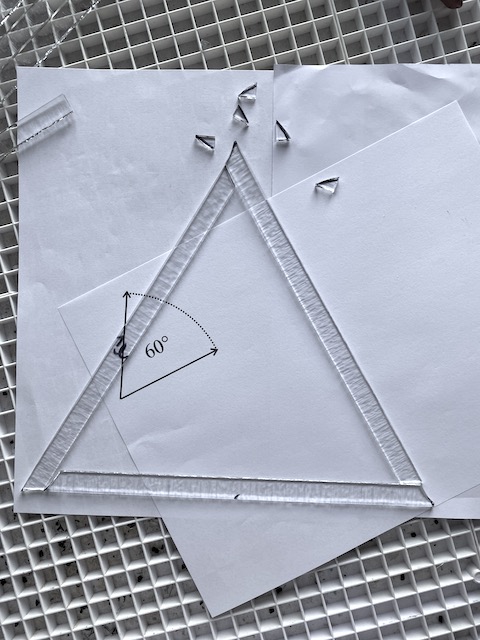
Still Step 5. This is a close up to show you how the pieces meet up to form the triangle points.
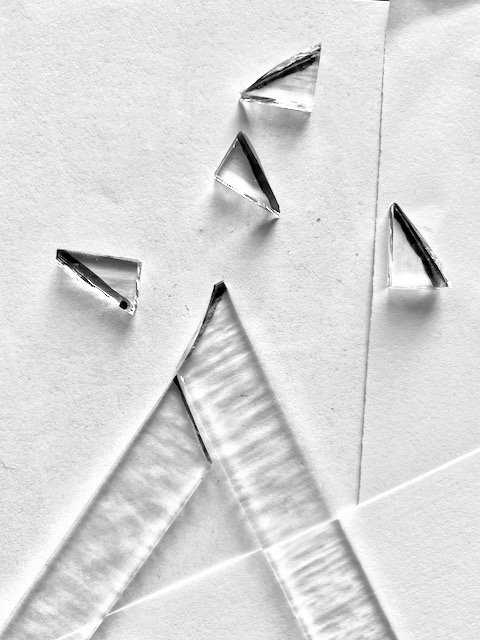
Step 6. The second triangle goes on top of the first with the cuts positioned so they don’t overlap the cuts on the bottom layer. Hopefully you can see how it works in this close up of one of the triangle points with two layers.

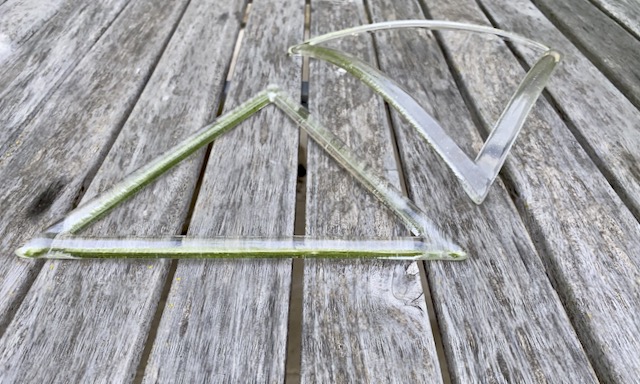
Step 7. Full fuse the triangle. I used one of my standard full fuse schedules*.
Step 8. Slump the fused triangle into the same mold you used for the bowl. I used the same slump schedule that I used for the bowl*.
*Fusing Schedules. Fusing schedules are very kiln specific, but I understand that some people are still working out best practices or find that it helps them understand the process. Here are my schedules (in F) in my Paragon front-loading GL-18 using Bullseye glass. I crack my kiln when it’s under 150°.
| FULL | ||
| rate | temp | hold time |
| 300 | 1225 | .30 |
| 600 | 1485 | .10 |
| 9999 | 900 | 1.00 |
| 100 | 700 | end |
| SLUMP | ||
| rate | temp | hold time |
| 200 | 1200 | .05 |
| 9999 | 900 | 1.00 |
| 100 | 700 | end |
